
Photo editing guide
Free Add Photo to Photo AI Generator
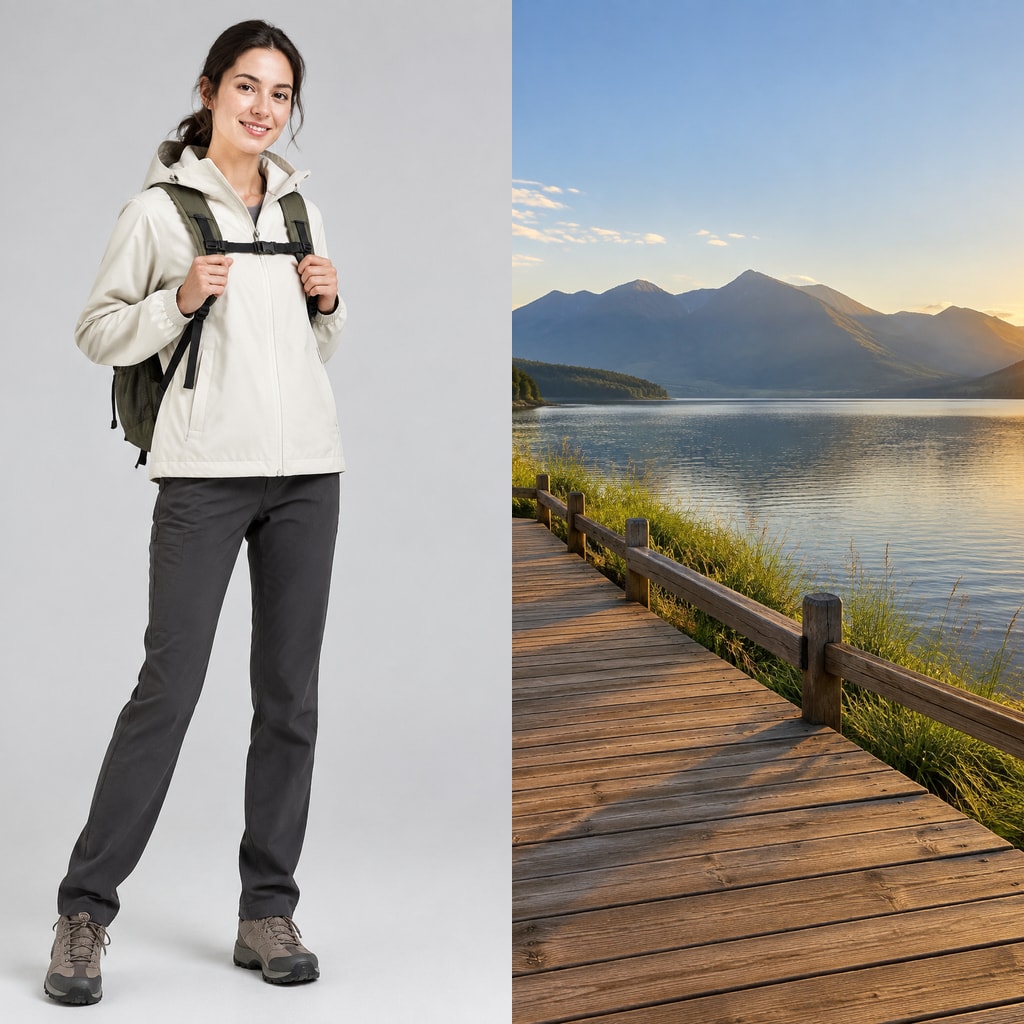
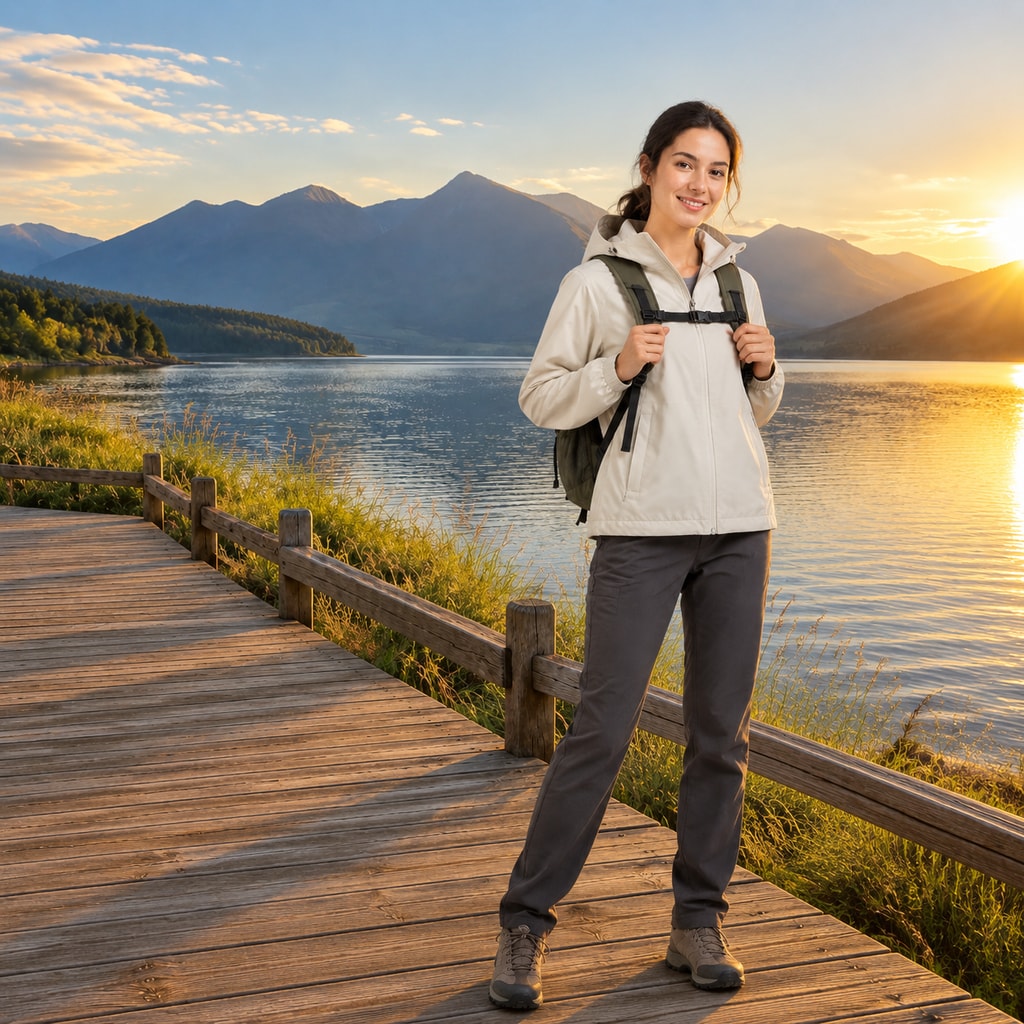
A free add photo to photo AI generator helps you place one photo's subject into another scene without building masks and layers by hand. You can upload a base image and a reference image, describe where the new element belongs, and let the model blend scale, lighting, shadows, and color into one readable composition.
What does add photo to photo mean?
To add photo to photo means combining a base image with another image so the added subject, product, prop, or background element becomes part of one scene. Unlike a collage, the goal is not to place two pictures side by side. The better result keeps one perspective, one light source, and one believable sense of depth.
A practical add photo to photo workflow starts with a clear base photo because it usually controls composition, viewpoint, and background. The second image supplies the subject or element to insert. Your prompt should explain what to add, where it belongs, and which parts of the original scene must remain unchanged.
What a free add photo to photo AI generator can do
A free add photo to photo AI generator can turn separate images into a unified composite. Common uses include putting a person into a travel scene, adding a product to a lifestyle background, inserting a missing prop, placing a pet in a family portrait, or testing several background options around the same subject.
The strongest starting point is two focused images: one clean base scene and one recognizable subject. You can also use the tool to explore concepts before traditional retouching. For commercial work, make sure you own or have permission to use every input image, especially photographs of people, branded products, artwork, and protected locations.
How to write an add photo to photo prompt
Describe the relationship between the two images before adding stylistic details. A useful formula is: base image + inserted element + placement + scale + interaction + lighting + preservation. For example: “Use image 1 as the base. Add the woman from image 2 to the left bench, seated at a natural scale, with shadows matching the afternoon sun.”
Protect the details that make the result feel authentic. Ask the generator to preserve the base photo's composition, background layout, horizon, and color mood. If the inserted element is a person or pet, ask for natural proportions, believable contact with the ground or furniture, and shadows that agree with the existing light direction.
Four directions to try
1. Travel portrait: add a person to a city street, beach, mountain trail, or lakeside boardwalk while keeping the original viewpoint. 2. Product scene: place a bottle, sneaker, gadget, or packaged item on a table, countertop, studio set, or outdoor surface without hiding important details.
3. Group photo recovery: add a missing person to an empty space in the frame and match perspective, height, and shadow. 4. Creative storytelling: add a balloon, bicycle, umbrella, animal, or seasonal prop to a simple photo and keep the inserted element grounded in the scene rather than floating.
How to improve the combined image
If the added element looks pasted on, reduce how many changes you request in one prompt. First fix placement and scale, then ask for better shadow direction, then match color and brightness. This stepwise approach makes it easier to see which instruction changed the result.
Also check the edges where the added subject meets the background. A convincing result usually shares the same sharpness, grain, perspective, and occlusion logic as the base photo. If something looks wrong, regenerate with simpler wording, sharper input images, and one clear reference for the subject you want to add.
Start with a free add photo to photo AI generator
Use the editable prompt above as your starting point. Upload the base image first, then upload the reference image, and replace the placement details with your own instructions. Keep the preservation line until you are happy with the layout, then adjust lighting or mood separately.
This free add photo to photo AI generator workflow is most effective when your goal is specific: one base scene, one inserted subject, and one believable relationship between them. Start with a simple composite, review the shadows and proportions, and refine only the part that needs to change.